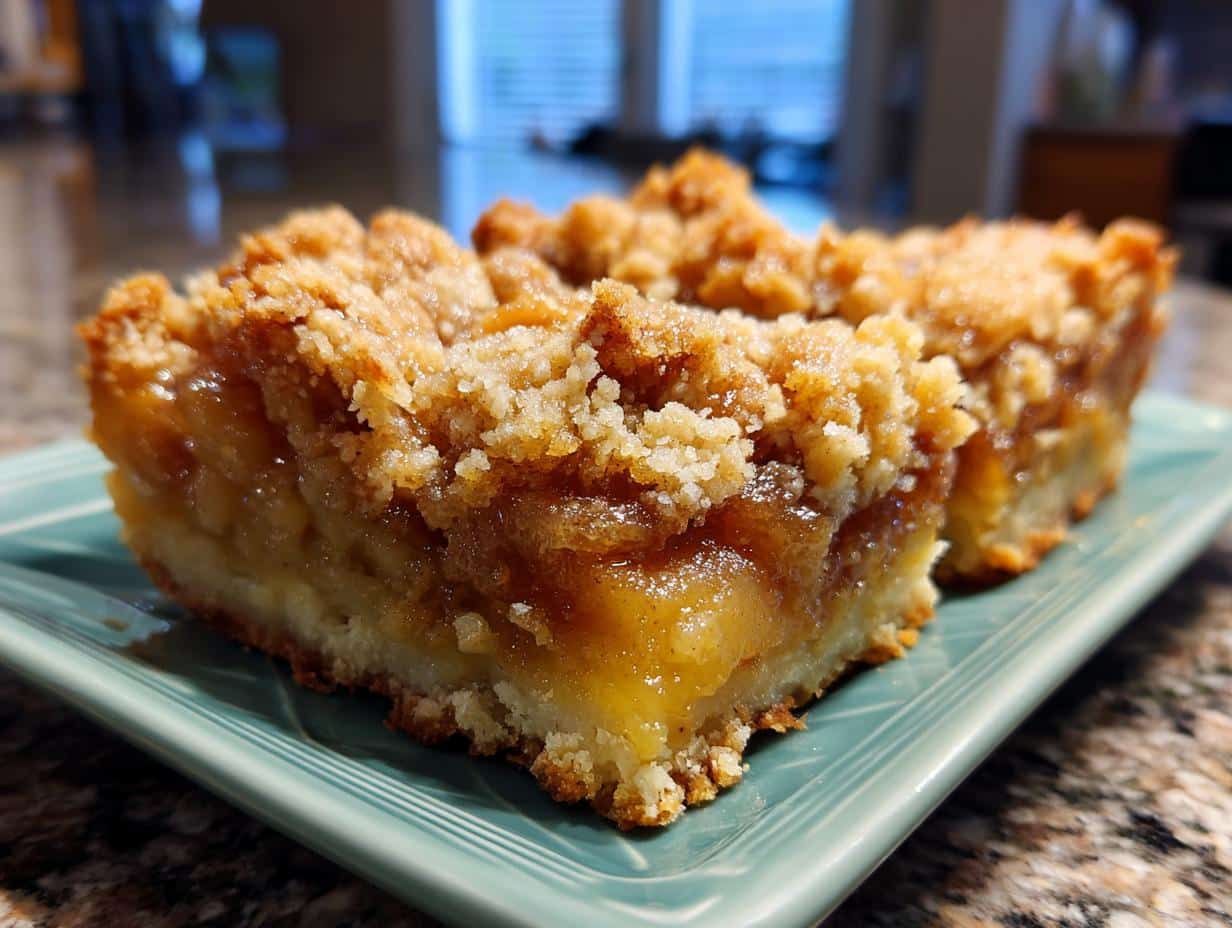
Amazing Apple Pie Bars: 1 Bite of Heaven
Oh my goodness, if you’re looking for a dessert that just screams comfort and deliciousness, you HAVE to try these Apple Pie Bars. Seriously, it’s like your favorite slice of apple pie decided to get a whole lot easier to eat! We’re talking a perfectly buttery, crumbly shortbread crust hugging this amazing sweet and spiced apple filling. I remember making the first batch years ago, and my whole house smelled like a cozy autumn day. They disappeared so fast, and now they’re a total go-to whenever I need something sweet without all the fuss of rolling out pie dough. These are just *chef’s kiss*!
Why You’ll Love These Apple Pie Bars
Trust me, these apple pie bars are going to become your new favorite! They’re just SO easy to whip up, and the flavor is out of this world. You get that wonderful buttery shortbread crust, which is just divine, paired with the sweet, spiced apples. They’re perfect for potlucks, bake sales, or just a cozy night in. Honestly, everyone always asks for the recipe!
- Super simple to make – seriously, no fancy techniques needed!
- That classic apple pie flavor you love, but in bar form.
- Perfect for sharing (or not, I won’t judge!).
Quick and Easy Preparation
What I love most about these apple pie bars is how little effort they take. You just mix up a quick dough for the crust, press most of it into the pan, dump on the apples, and then crumble the rest of the dough on top. That’s it! No rolling, no fussing, just pure, simple goodness that comes together in minutes.
Crowd-Pleasing Flavor
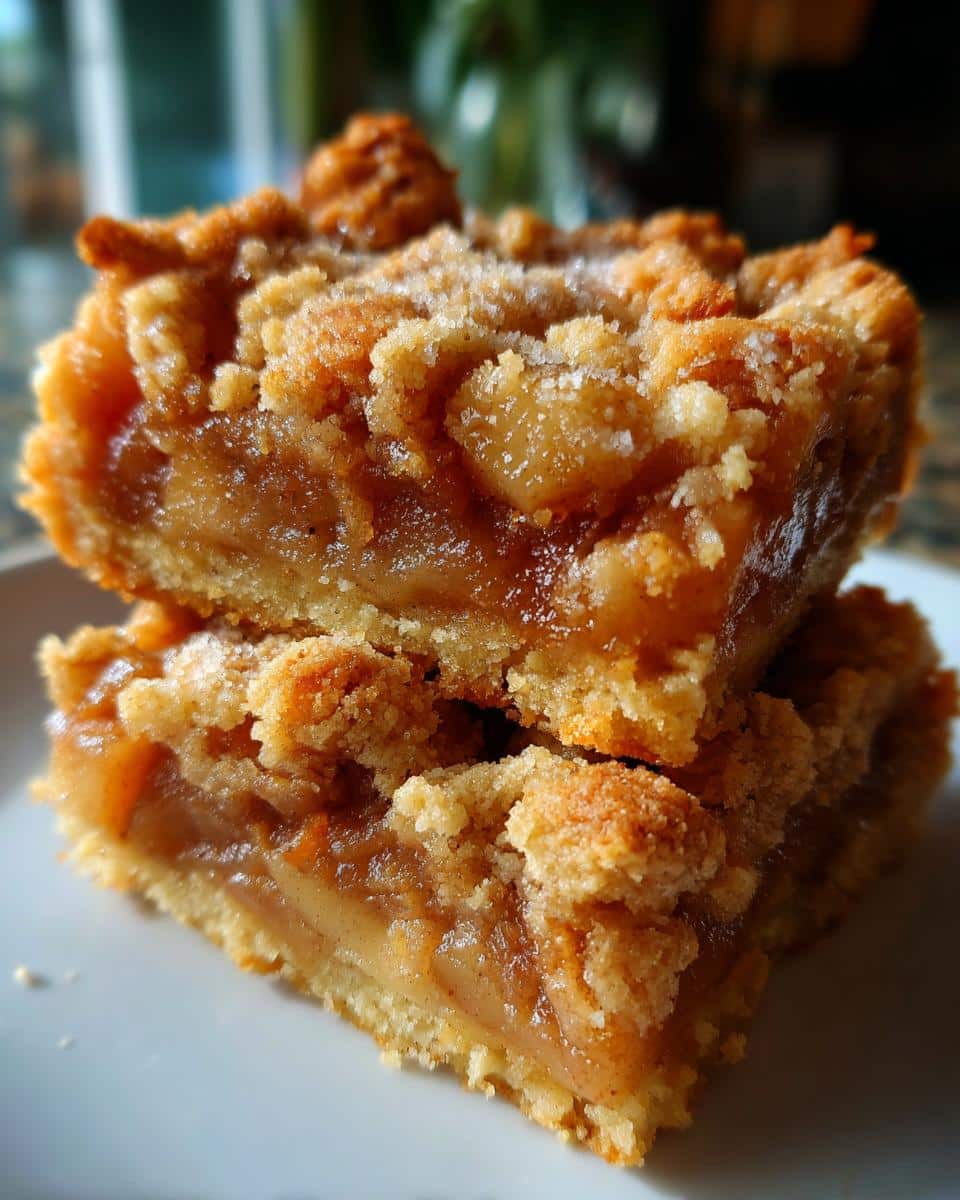
Oh, the flavor! That shortbread crust is just melt-in-your-mouth buttery, and it’s the perfect base for the warm, cinnamon-spiced apple filling. It’s that comforting taste of homemade apple pie, but in a super convenient bar form. Every bite is a little taste of heaven, I promise!
Gather Your Ingredients for Apple Pie Bars
Alright, let’s get everything ready so we can whip these beauties up! You’ll want to have your ingredients measured out so it all goes smoothly. For the apples, I usually grab something like Honeycrisp or Granny Smith because they hold their shape really well and have that perfect sweet-tart balance. Just make sure they’re peeled and chopped into nice bite-sized pieces. And remember, softened butter is your friend for that lovely crust!
For the Buttery Shortbread Crust
Here’s what you need for that amazing crust: 1 cup of unsalted butter that’s softened just right, half a cup of granulated sugar, a teaspoon of vanilla extract for that little flavor boost, 2 cups of all-purpose flour, and a tiny pinch of salt to make everything pop.
For the Sweet Apple Filling
For the yummy apple part, you’ll need about 4 cups of your prepared apples, another half cup of granulated sugar, a tablespoon of lemon juice to brighten things up, a teaspoon of cinnamon because, well, apple pie!, and just a whisper of nutmeg.
Crafting Your Perfect Apple Pie Bars
Okay, here’s where the magic really happens! Making these apple pie bars is honestly super straightforward, and I promise you’ll feel like a baking rockstar when you’re done. Just follow these steps and you’ll have a pan of pure happiness.
Preparing the Shortbread Crust
First things first, let’s get that oven preheated to 350°F (175°C) and give your 9×13 inch baking pan a good grease and flour. Now, grab your softened butter and that first half cup of sugar. Cream them together until they’re nice and fluffy – it should look pale and lovely. Beat in the vanilla extract. Then, in a separate bowl, whisk your flour and salt together. Gradually add this dry mix to your butter mixture, stirring until it *just* comes together. Don’t overmix! Press about two-thirds of this dough evenly into the bottom of your prepared pan. This is the base for our amazing bars!
Assembling the Apple Pie Layers
Now for the star of the show – the apples! In a medium bowl, toss your chopped apples with the remaining half cup of sugar, the lemon juice, cinnamon, and that little bit of nutmeg. Make sure every apple piece is coated in that lovely spice mix. Spread this apple mixture right over the crust you just pressed into the pan. Try to get it as even as possible. Then, take that last third of your dough and just crumble it loosely over the top of the apples. It doesn’t need to be perfect; that rustic crumble is part of the charm!
Baking and Cooling Your Apple Pie Bars
Pop that pan into your preheated oven and let it bake for about 40 to 45 minutes. You’ll know they’re ready when the topping is a beautiful golden brown and you can see the apple filling bubbling up around the edges. It smells heavenly! The most important part now? Patience! Let them cool completely in the pan. I know, I know, it’s tough when they look so good, but if you try to cut them too soon, they’ll just fall apart. Waiting until they’re totally cool will give you nice, clean bars. Trust me on this one!
Tips for the Ultimate Apple Pie Bars
Want to make your apple pie bars absolutely perfect? I’ve got a few little tricks up my sleeve! Using good quality ingredients really makes a difference, especially the butter and the apples. Don’t skimp! And remember that cooling step I mentioned earlier? It’s SO important for getting those clean, beautiful bars. If you ever find yours are a little too gooey in the middle, it just means they needed a few more minutes in the oven. Easy fix!
Achieving a Crispier Crust
If you’re a fan of a really sturdy, crisp bottom crust, here’s a little secret: pre-bake it! Just take that crust dough you’ve pressed into the pan, pop it in the oven for about 10 minutes before you add the apples. It gives it a little head start and makes it extra delicious and firm. It’s a game-changer!
Serving and Storing Your Apple Pie Bars
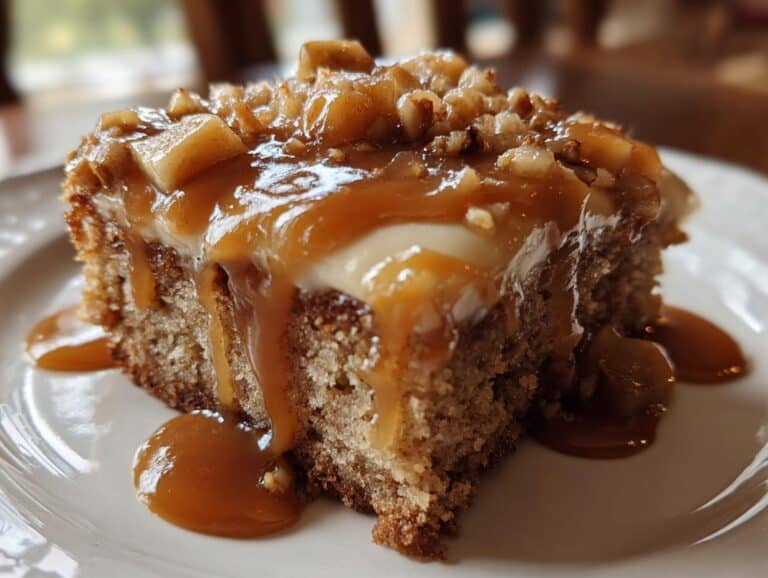
These apple pie bars are fantastic on their own, but oh my goodness, serving them warm is just next level! If you want to really impress, try them with a big scoop of vanilla ice cream melting over the top, or a dollop of fluffy whipped cream. It’s pure comfort!
Delicious Serving Suggestions
Warm them up for just a few seconds in the microwave, then add a scoop of vanilla ice cream or a swirl of fresh whipped cream. So good!
Storing Leftovers
Got any left? Lucky you! Just pop them into an airtight container. They’ll keep nicely at room temperature for about 3 days. No need to refrigerate unless your kitchen is super hot!
Frequently Asked Questions About Apple Pie Bars
Got questions about these yummy apple pie bars? I’ve totally got you covered! Here are a few things people often ask, and I’m happy to spill the beans.
What are the best apples for Apple Pie Bars?
For the absolute best apple pie bars, you want apples that hold their shape and have a nice balance of sweet and tart. Granny Smith are a classic choice, but Honeycrisp, Fuji, or even a mix of a few types work wonderfully! Avoid super mushy apples.
Can I make Apple Pie Bars ahead of time?
Oh yes, absolutely! These apple bars are actually *better* after they’ve had a little time to sit. You can totally make them a day ahead and store them at room temperature. They’ll still be delicious the next day, and sometimes even more flavorful!
Estimated Nutritional Information for Apple Pie Bars
Just a heads-up, these numbers are estimates and can vary a bit based on your ingredients and exact portion sizes. But generally, one of these delicious apple pie bars will have around 250 calories, about 15g of fat (with 9g being saturated), 2g of protein, 30g of carbohydrates, and 20g of sugar. Enjoy them!
Print
Amazing Apple Pie Bars: 1 Bite of Heaven
- Total Time: 1 hour 5 minutes
- Yield: 24 bars 1x
- Diet: Vegetarian
Description
Easy to make apple pie bars with a buttery shortbread crust and a sweet apple filling.
Ingredients
- 1 cup unsalted butter, softened
- 1/2 cup granulated sugar
- 1 teaspoon vanilla extract
- 2 cups all-purpose flour
- 1/4 teaspoon salt
- 4 cups peeled and chopped apples
- 1/2 cup granulated sugar
- 1 tablespoon lemon juice
- 1 teaspoon ground cinnamon
- 1/4 teaspoon ground nutmeg
Instructions
- Preheat oven to 350°F (175°C). Grease and flour a 9×13 inch baking pan.
- In a large bowl, cream together softened butter and 1/2 cup sugar until light and fluffy. Beat in vanilla extract.
- In a separate bowl, whisk together flour and salt. Gradually add flour mixture to the butter mixture, mixing until just combined.
- Press two-thirds of the dough evenly into the bottom of the prepared baking pan to form the crust.
- In a medium bowl, combine chopped apples, 1/2 cup sugar, lemon juice, cinnamon, and nutmeg. Toss to coat the apples.
- Spread the apple mixture evenly over the crust.
- Crumble the remaining one-third of the dough over the apple layer.
- Bake for 40-45 minutes, or until the topping is golden brown and the filling is bubbly.
- Let cool completely in the pan before cutting into bars.
Notes
- For a crispier crust, bake the crust for 10 minutes before adding the apple filling.
- Serve warm with vanilla ice cream or whipped cream.
- Store leftovers in an airtight container at room temperature for up to 3 days.
- Prep Time: 20 minutes
- Cook Time: 45 minutes
- Category: Dessert
- Method: Baking
- Cuisine: American
Nutrition
- Serving Size: 1 bar
- Calories: 250
- Sugar: 20g
- Sodium: 75mg
- Fat: 15g
- Saturated Fat: 9g
- Unsaturated Fat: 6g
- Trans Fat: 0g
- Carbohydrates: 30g
- Fiber: 2g
- Protein: 2g
- Cholesterol: 40mg
Keywords: apple pie bars, apple bars, shortbread crust, easy dessert, fall baking