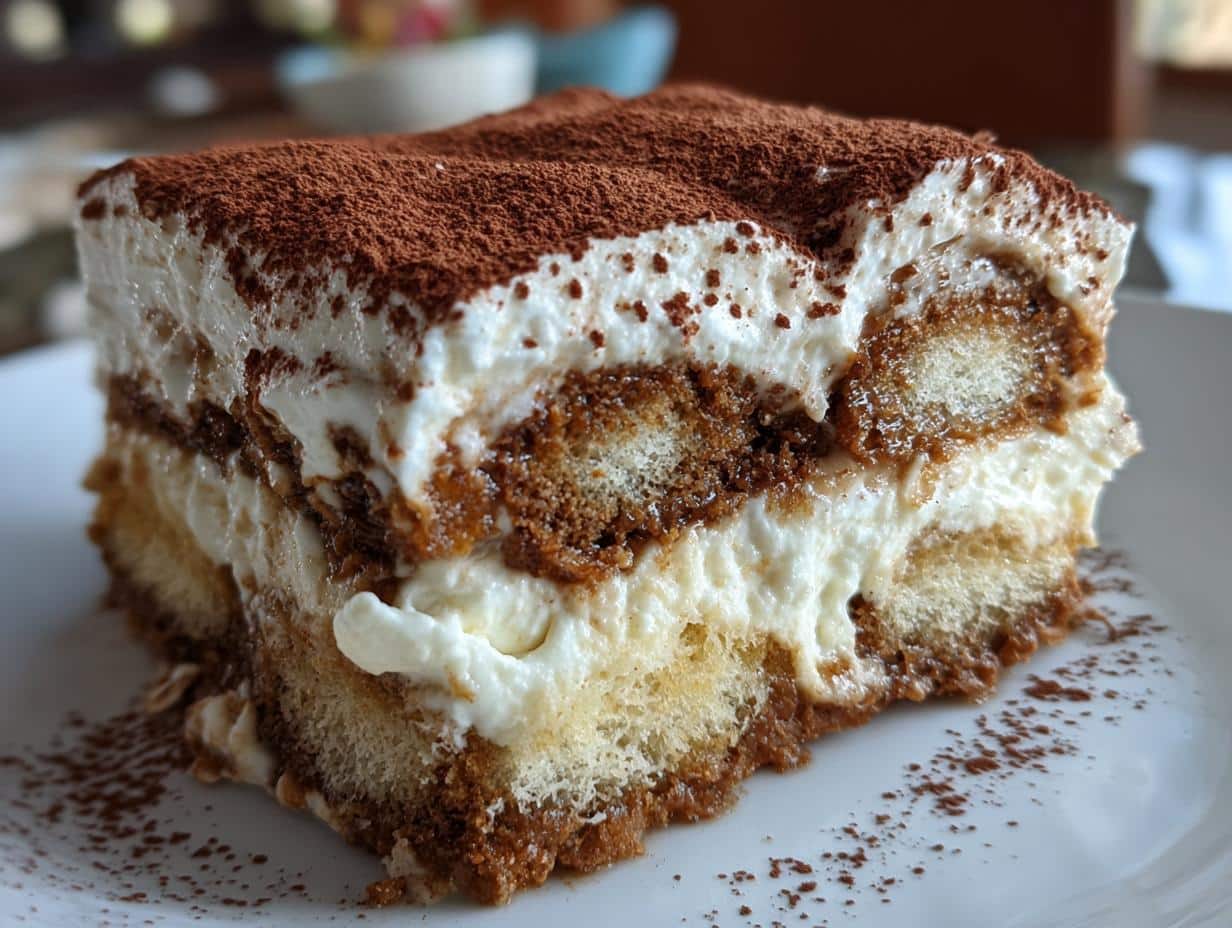
Classic No-Bake Tiramisu: 6 Easy Steps
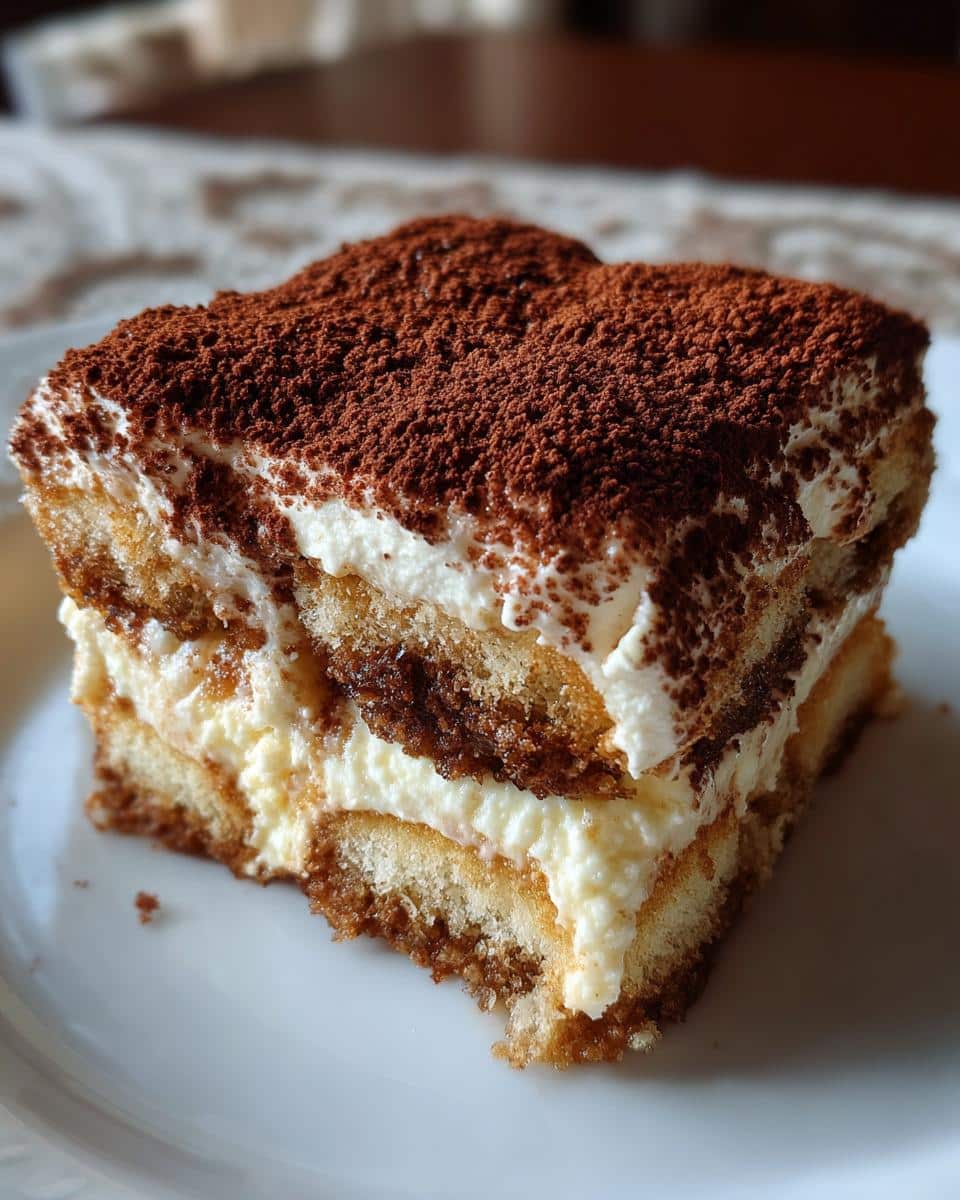
Oh, Tiramisu! Just saying the name makes me think of cozy Italian kitchens and desserts that feel fancy but are secretly SO easy. And this Classic No-Bake Tiramisu? It’s my absolute go-to when I want something impressive without turning on the oven. Seriously, it’s a lifesaver for dinner parties or even just a special weekend treat. The magic is really in those layers – the way the ladyfingers soak up that rich coffee, then get nestled into the creamiest mascarpone dream. It’s pure bliss in every single bite, and trust me, it always disappears way too fast!
Why You’ll Love This Classic No-Bake Tiramisu
Honestly, this recipe is a dream for so many reasons:
- It’s ridiculously easy – no oven required!
- Minimal prep time means you can whip it up without a fuss.
- It looks so elegant and impressive, you’ll feel like a pastry chef!
- And the taste? Oh my goodness, it’s a guaranteed crowd-pleaser. Everyone just adores this easy tiramisu!
Gathering Your Ingredients for Classic No-Bake Tiramisu
Okay, so to get this amazing Classic No-Bake Tiramisu going, we need to gather a few things. Don’t worry, it’s not a huge shopping list! You’ll need six large egg yolks – make sure they’re fresh! Then, grab about three-quarters of a cup of granulated sugar. For that luscious creaminess, we need two cups of mascarpone cheese, and this is important, make sure it’s at room temperature so it mixes smoothly. We also need about a cup and a half of strong brewed coffee, but it *has* to be cooled down first, otherwise, it’ll scramble those eggs!
Essential Components for Classic No-Bake Tiramisu
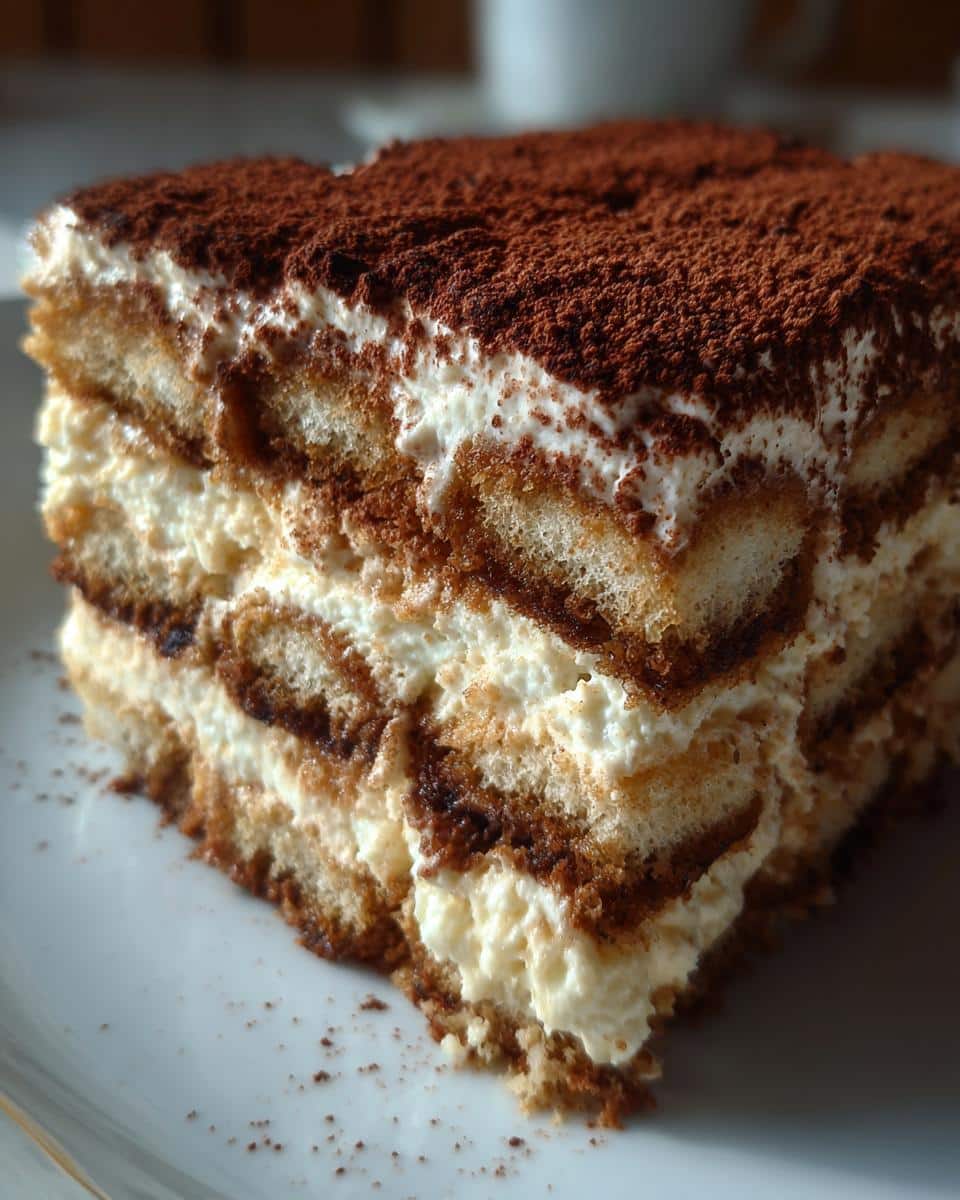
The stars of the show here are definitely the mascarpone cheese, the ladyfingers, and the coffee. The mascarpone is what makes this dessert so unbelievably creamy and rich; it’s just… luxurious. And the ladyfingers? They’re the perfect vehicle for soaking up all that delicious coffee flavor without turning into mush. Using good quality, strong coffee really makes a difference in the final taste, so don’t skimp there! These are the absolute must-haves for that authentic texture and flavor you expect from a real Classic No-Bake Tiramisu.
Optional Enhancements for Your Classic No-Bake Tiramisu
Now, if you want to take your Classic No-Bake Tiramisu to the next level, a little splash of coffee liqueur – like Marsala or rum – is totally optional but oh-so-worth-it. It adds this lovely depth of flavor that just complements everything. You can find it in most liquor stores; just grab a small bottle if you don’t normally have it on hand!
Crafting Your Classic No-Bake Tiramisu: Step-by-Step
Alright, let’s get down to business and make this amazing Classic No-Bake Tiramisu! It might sound fancy, but honestly, the steps are super straightforward. You’ll feel like a pro!
Preparing the Creamy Mascarpone Mixture
First things first, we need to make that dreamy filling. Grab a heatproof bowl and whisk together your egg yolks and sugar. Now, the trick is to cook this gently. Place the bowl over a saucepan with some simmering water – don’t let the bowl actually touch the water, okay? Keep whisking constantly. You’re looking for the mixture to get pale yellow and thicken up nicely, kind of like a ribbon when you lift the whisk. This usually takes about 5 to 7 minutes. Once it’s ready, take it off the heat and let it cool down a bit. While that’s cooling, gently whisk your mascarpone cheese in a separate bowl until it’s smooth. Then, carefully fold that cooled egg mixture into the mascarpone. Just gently fold it in until it’s all combined. Seriously, don’t overmix this part – we want it smooth and luscious for our Classic No-Bake Tiramisu!
Assembling the Layers of Classic No-Bake Tiramisu
Now for the fun part: building those beautiful layers! Get a shallow dish and pour in your cooled strong coffee. If you grabbed that coffee liqueur, mix it in here too. You want to dip your ladyfingers into this coffee mixture really quickly – just a quick dunk on each side. The key is to soak them, but not *too* much, or your Classic No-Bake Tiramisu will end up a bit too mushy. Arrange a single layer of these dipped ladyfingers right at the bottom of your baking dish. Then, spread about half of that creamy mascarpone mixture evenly over the top. We’re almost there! Repeat with another layer of those coffee-dipped ladyfingers and then finish it off with the rest of the mascarpone mixture.
Chilling and Finishing Your Classic No-Bake Tiramisu
This is probably the hardest part – waiting! You need to cover the dish and pop it in the fridge for at least 4 hours, but honestly, overnight is even better. This chilling time is super important; it lets all those amazing flavors meld together and gives the dessert that perfect, sliceable texture. Once it’s nice and chilled, just before you serve your masterpiece, give it a generous dusting of unsweetened cocoa powder. It looks so pretty and adds that classic finish to your perfect Classic No-Bake Tiramisu!
Tips for the Perfect Classic No-Bake Tiramisu
Making this Classic No-Bake Tiramisu is pretty forgiving, but a few little tricks really make it shine. It’s all about getting those layers just right and keeping that mascarpone mixture perfectly smooth!
Achieving the Ideal Ladyfinger Soak
Okay, the ladyfingers are super important! You want them to soak up that coffee flavor, but you definitely don’t want them to fall apart. My trick is to dip them *really* quickly, like a two-second dip on each side. Seriously, don’t let them sit there marinating! You want them moist, not soggy. If you accidentally dip one for too long, just gently place it in the dish; the other layers will help firm it up a bit. It’s all about finding that sweet spot for a great Classic No-Bake Tiramisu.
Mastering the Mascarpone Texture
When you’re mixing the mascarpone and the egg mixture, be gentle! Overmixing can make it a bit grainy or watery, and we want that luscious, smooth texture for our Classic No-Bake Tiramisu. Just fold everything together until it’s *just* combined. It should be thick and creamy, like a rich frosting. If it seems a little too stiff, a tiny bit more whisking is fine, but really, stop as soon as it looks uniform. That’s the secret to that amazing, velvety bite!
Serving and Storing Your Classic No-Bake Tiramisu
Alright, the moment of truth! Serving this Classic No-Bake Tiramisu is almost as easy as making it. Once it’s had its all-important chill time, just dust it generously with that cocoa powder right before you bring it to the table. It looks so elegant, doesn’t it? You can serve it right from the baking dish, or if you’re feeling fancy, scoop out individual portions into pretty glasses or bowls!
Presentation Ideas for Classic No-Bake Tiramisu
For an extra special touch with your Classic No-Bake Tiramisu, you can add a few chocolate shavings on top of the cocoa powder, or even a tiny dusting of espresso powder for a double coffee hit! A fresh raspberry or a little mint sprig can also add a pop of color and look super sophisticated. It’s these little things that make your dessert feel extra special!
Storing Leftover Classic No-Bake Tiramisu
Now, if by some miracle you have any Classic No-Bake Tiramisu left over (which I doubt!), don’t fret. Just cover it tightly with plastic wrap or pop a lid on the dish. It’ll keep beautifully in the refrigerator for about 2 to 3 days. Honestly, the flavors can even get better the next day, so don’t be afraid to make it a day in advance!
Frequently Asked Questions About Classic No-Bake Tiramisu
Got questions about this amazing Classic No-Bake Tiramisu? I totally get it! It’s one of those desserts that people rave about, and there are always a few things that pop into mind when you’re making it.
Can I make this Classic No-Bake Tiramisu ahead of time?
Oh, absolutely! This is actually the best way to make it. The longer this Classic No-Bake Tiramisu chills, the more those flavors meld together and the firmer it gets. I usually aim for at least 4 hours, but overnight is truly the sweet spot. It makes hosting so much easier because the dessert is already done!
What is the best coffee to use for this no-bake tiramisu?
For the best flavor in your no-bake tiramisu, you really want to use strong, good-quality brewed coffee. Think espresso or a really dark roast that’s brewed nice and strong. It needs to have a good punch of flavor to cut through the creamy mascarpone and really give it that classic coffee kick. Weak coffee just won’t do this Italian cake justice!
Can I substitute the ladyfingers in this Italian cake?
You know, ladyfingers are really ideal for this Italian cake because they’re light and airy and soak up the coffee perfectly without getting too mushy. If you absolutely can’t find them, some people have had luck with sponge cake cut into strips, but it can change the texture of the final Classic No-Bake Tiramisu a bit. Just be extra careful with the soaking time if you try a different cake!
Nutritional Estimates for Classic No-Bake Tiramisu
Just a friendly heads-up! The nutritional info for this Classic No-Bake Tiramisu is definitely an *estimate*. It can change depending on the specific brands of mascarpone, coffee, or even the size of your eggs that you use. So, think of these numbers as a general guide rather than exact science!
Share Your Classic No-Bake Tiramisu Experience
I absolutely LOVE hearing from you all! If you make this Classic No-Bake Tiramisu, please, pretty please, leave a comment and let me know what you think. And if you snap a pic, tag me on social media! Seeing your creations makes my day and shows everyone just how amazing this easy tiramisu is!
Print
Classic No-Bake Tiramisu: 6 Easy Steps
- Total Time: 4 hours 30 minutes
- Yield: 8 servings 1x
- Diet: Vegetarian
Description
A classic no-bake Italian dessert featuring layers of coffee-soaked ladyfingers and creamy mascarpone cheese.
Ingredients
- 6 large egg yolks
- 3/4 cup granulated sugar
- 2 cups mascarpone cheese, room temperature
- 1 1/2 cups strong brewed coffee, cooled
- 1/4 cup coffee liqueur (optional)
- 24 ladyfingers
- Unsweetened cocoa powder, for dusting
Instructions
- In a heatproof bowl, whisk together egg yolks and sugar. Place the bowl over a saucepan of simmering water (bain-marie), ensuring the bottom of the bowl does not touch the water.
- Whisk constantly until the mixture is pale yellow and has thickened to a ribbon stage, about 5-7 minutes. Remove from heat and let cool slightly.
- In a separate bowl, gently whisk the mascarpone cheese until smooth.
- Fold the cooled egg yolk mixture into the mascarpone cheese until just combined. Do not overmix.
- In a shallow dish, combine the cooled coffee and coffee liqueur (if using).
- Quickly dip each ladyfinger into the coffee mixture, ensuring they are soaked but not soggy.
- Arrange a single layer of dipped ladyfingers in the bottom of an 8×8 inch baking dish.
- Spread half of the mascarpone mixture evenly over the ladyfingers.
- Repeat with another layer of dipped ladyfingers and the remaining mascarpone mixture.
- Cover the dish and refrigerate for at least 4 hours, or preferably overnight, to allow the flavors to meld and the dessert to set.
- Before serving, dust generously with unsweetened cocoa powder.
Notes
- Ensure your mascarpone cheese is at room temperature for easier mixing.
- Do not oversoak the ladyfingers, or the tiramisu will be too wet.
- For a richer flavor, use a good quality strong coffee.
- Chilling time is crucial for the best texture and flavor.
- Prep Time: 20 minutes
- Cook Time: 10 minutes
- Category: Desserts
- Method: No-Bake
- Cuisine: Italian
Nutrition
- Serving Size: 1 serving
- Calories: 350 kcal
- Sugar: 25 g
- Sodium: 50 mg
- Fat: 20 g
- Saturated Fat: 12 g
- Unsaturated Fat: 8 g
- Trans Fat: 0.5 g
- Carbohydrates: 30 g
- Fiber: 1 g
- Protein: 7 g
- Cholesterol: 150 mg
Keywords: Classic No-Bake Tiramisu, Tiramisu, no-bake tiramisu, coffee dessert, Italian cake, easy tiramisu, mascarpone dessert, Italian desserts